
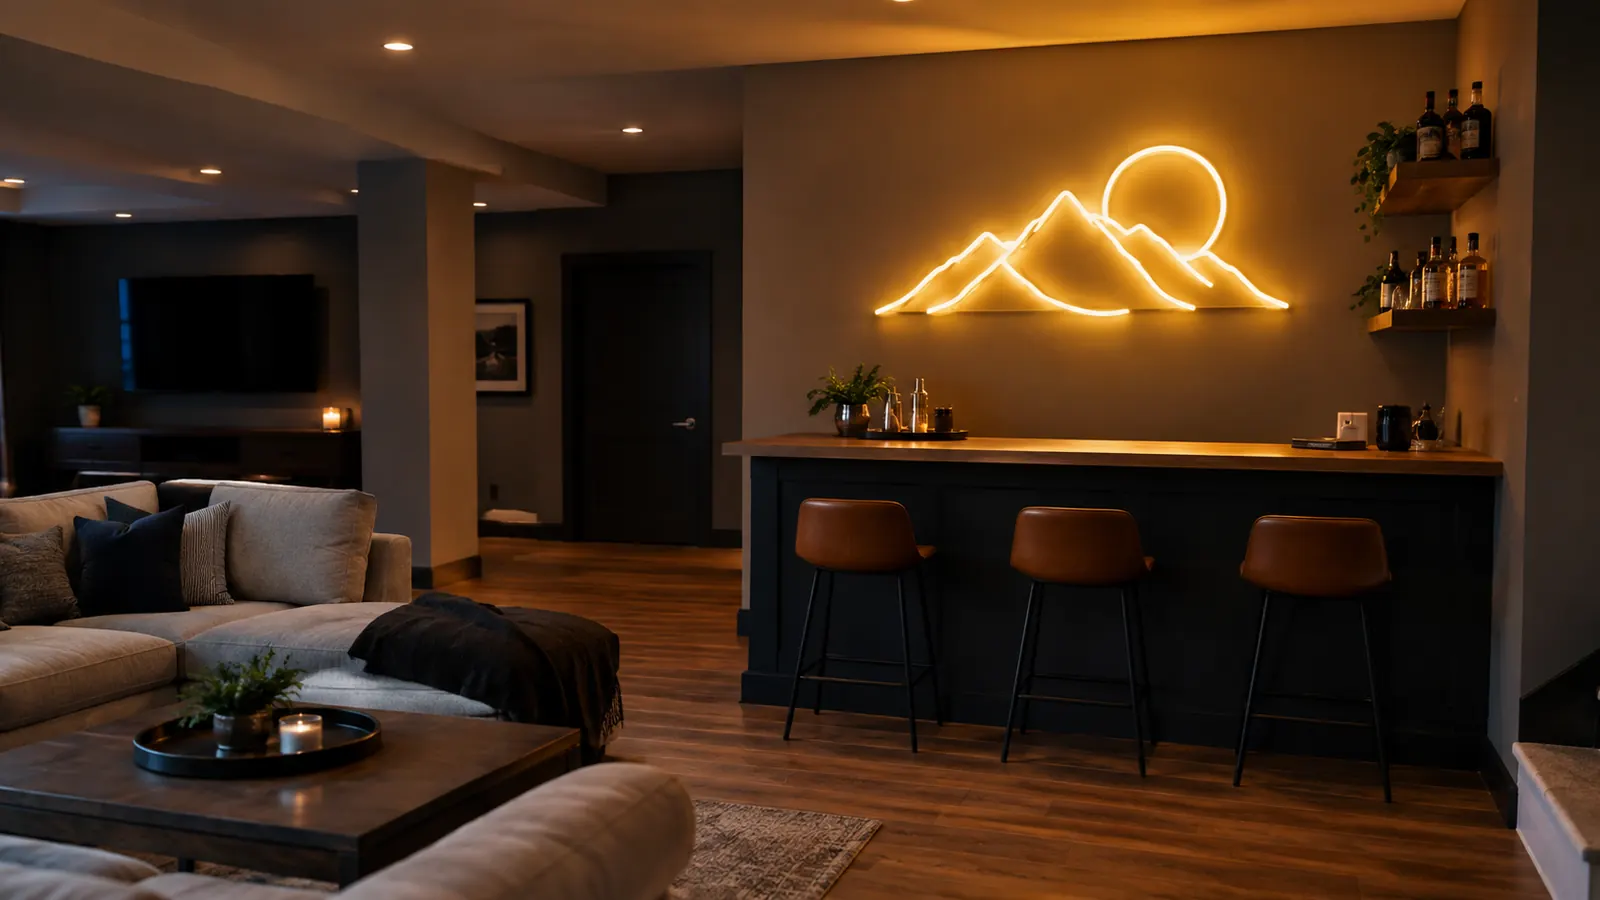
I will start with the part nobody tells you: the hardest part of buying a custom neon sign is not picking the wording, and it is not waiting for it to arrive. It is getting the thing onto your wall without leaving it looking like you hung a poster in a dorm room. I put a TAADEEBO custom neon sign up in my finished basement last fall, and I spent most of a Saturday afternoon learning the mounting part the slow way. This is the guide I wish I had that day.
My basement rec room is the low point of a 1972 split-level with exactly two small windows, so any usable light down there is light I added myself. I have bought a few of these LED signs over the years, and I have made the mistakes in order: adhesive strips that were not rated for the weight and sagged off the wall after three weeks, a screw through the wrong spot that I had to patch and repaint, and one sign that hung crooked for a month because I trusted my eye instead of a level. The good news is that all of it was avoidable with about ten minutes of measuring before I ever touched the wall.
Everything below assumes you already have the sign in hand. If you are still picking one out, the TAADEEBO is the one I have on my wall right now, and the mounting method here works for any sign in this size and weight class.
Got the sign already? Here is how to get it up without damage
The TAADEEBO custom LED sign comes with its own mounting kit, weighs about two pounds, and has held my basement wall for six months of monthly game nights. This guide walks through the exact steps I used.
Amazon Check Today's Price on Amazon →Step 1: Choose the spot and measure twice
Start with the wall, not the sign. Pick the spot where you actually want it, then hold the sign up with your hands and step back to look at it from the distance you will see it every day. For me that meant standing on the far side of the pool table, about ten feet back, and having my husband Gary hold the sign while I squinted at it. We moved it three times before we agreed on the spot over the little bar counter, and those extra five minutes paid for themselves a hundred times over.
Once the spot is settled, take real measurements. Measure the width and height of the sign with a tape measure, mark the center point on the wall with a pencil dot, and run a stud finder over the area to see what is behind the drywall. My basement wall has studs every sixteen inches on center, which is standard, but the spot I liked happened to have a duct run behind part of it. That mattered for the screw method in Step 4, and it is the kind of thing you want to know before you drill, not after.
Also check what is directly below the spot. The cord has to reach an outlet, and the transformer box adds length, so measure the distance from the sign's corner to the nearest outlet before you commit. The spot over my bar worked because there is an outlet right behind the counter, which meant I did not need an extension cord. An extension cord is not the end of the world, but a visible cord running across a wall is exactly the look you are trying to avoid.
Step 2: Lay out everything that came in the box
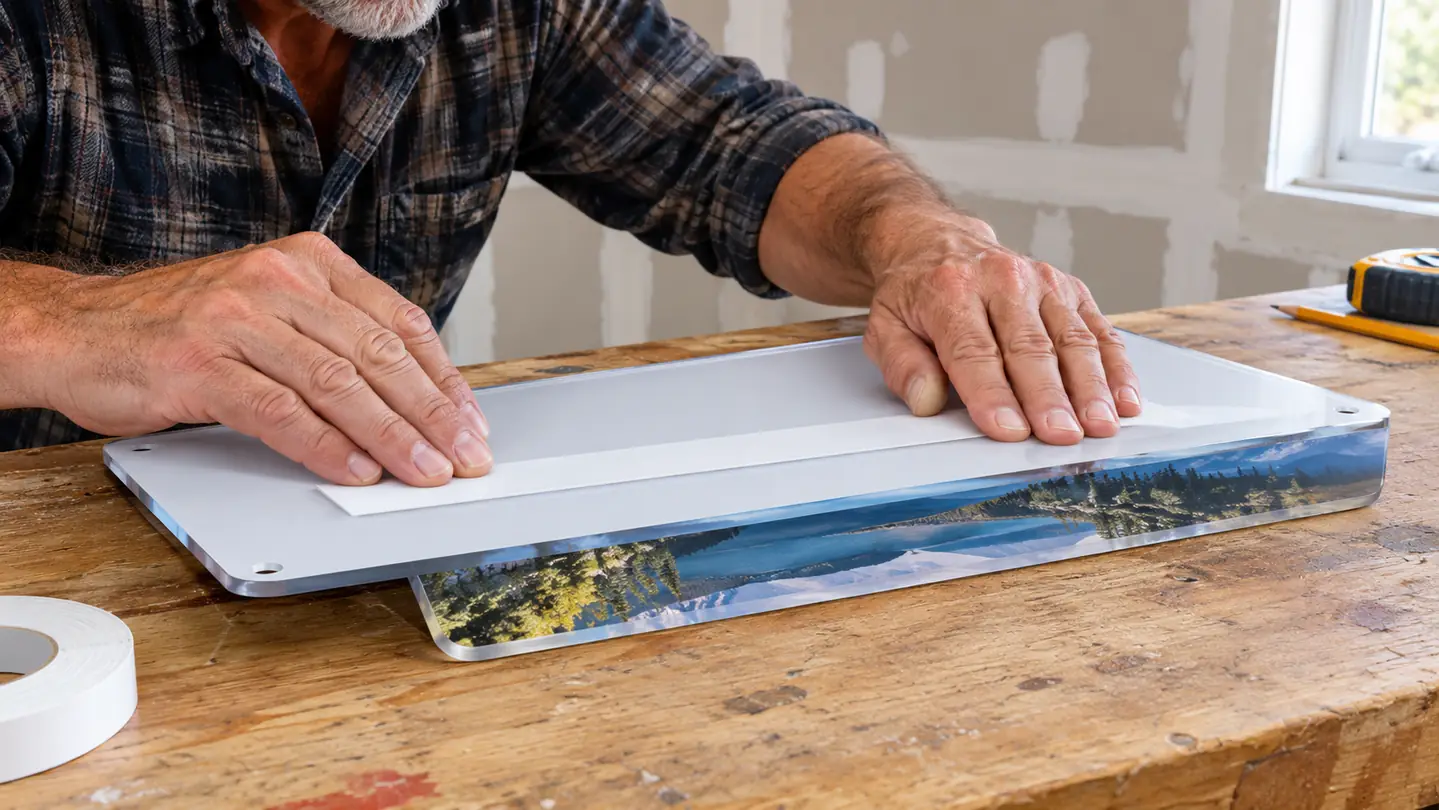
The TAADEEBO sign I got came with its own mounting hardware, which surprised me, because none of my earlier cheap signs did. Open the box and lay everything out on the floor: the sign itself, the power cord with the transformer box, a small remote, and the mounting kit. Read the little instruction sheet even if you think you do not need it. That sheet told me the sign weighs right around two pounds and that the acrylic backing has two pre-drilled holes, and both of those facts decided which mounting method I used.
Weigh your sign on a kitchen scale before you decide. A two pound sign is light enough that heavy duty adhesive strips can hold it, which is the entire trick for a rented wall or a wall you do not want to patch. My earlier signs weighed closer to four pounds once the frames were on, and that extra two pounds is exactly why the strips failed on those. If your sign is under about two and a half pounds, adhesive is a real option. Over that, plan on screws and do not fight it.
Before you start, also decide which way the sign faces and which side the cord comes off. Some of these signs let you flip the mounting orientation, and it is much easier to decide that on the floor than it is after the backing is screwed to the wall. I figured out the cord side while it was still in the box, which saved me from having to take the whole thing down and rotate it, a mistake I made with the first sign I ever owned.
Step 3: For a rented wall, use adhesive strips rated for the weight
If you cannot put holes in the wall, or you simply do not want to patch drywall later, the clean way is heavy duty mounting strips rated for the sign's weight. The strips I use hold up to four pounds each, and I used four of them: two across the top edge of the acrylic backing and two across the bottom. That is overkill for a two pound sign, and that is the point. The failure I had years ago was from using two strips rated for two pounds each on a sign that weighed four, which is exactly the math you should never do.
Clean the wall first. Wipe the spot with rubbing alcohol on a cloth and let it dry completely, because any dust or grease under the strip is what makes it peel off three weeks later. I skipped this once with a smaller sign and it slid down the wall by the next morning. Then press the strip to the sign, peel the second liner, press the whole thing to the wall, and hold it there for a full thirty seconds. Do not skip the hold. Thirty seconds is not long enough to feel like it matters and exactly long enough for the adhesive to grab.
The best part of the strip method is that it comes down clean. Each strip has a little tab, and you pull the tab straight down to release the adhesive, then the strip comes off the wall without pulling paint. My basement wall has been through two sign changes and a couple of holiday decorations and it still looks untouched. If you are renting, this is the difference between getting your full deposit back and spending an afternoon with a spackle knife.

Step 4: For a permanent mount, use the pre-drilled holes and a level
For the basement, I actually used screws, because that sign is staying up for the long haul and I would rather it not take a tumble during a game night. Mark the two screw positions through the pre-drilled holes in the acrylic backing, then use a level to make sure your two marks sit on the same horizontal line. Eyeballing it is how you end up with a crooked sign that bothers you every single time you walk past it, and I say that from experience.
Use drywall anchors if you are not hitting a stud. The screws that come in the kit are short, so on my wall I used my own anchors rated for ten pounds, which is overkill for a two pound sign and exactly what I wanted. Drive the anchors in with a screwdriver, screw the backing to the wall, then snap the sign onto the backing. Two of us did this in about ten minutes. The sign has not moved in six months of monthly game nights, and I have stopped checking it, which is the highest compliment I can give any wall hanging.
One warning about the screw method: it is permanent in the sense that you will have two small holes if you ever take it down. That is a ten minute patch job, not a catastrophe, but it is why this method belongs on walls you own. If the sign is going in a grandkid's bedroom and you know it will be replaced by a poster in a year, use the adhesive from Step 3 instead. Both methods work. They are for different walls.
Step 5: Hide the cord and do the final check
The cord is the part most people ignore and then regret. Mine has a transformer box about halfway down, which is bulky, so plan for it. I ran the cord down the corner behind the bar counter and used small adhesive cord clips to keep it flat against the wall. Cord clips come off without damage too, same as the mounting strips, so the whole install stays reversible even though the sign itself is screwed on.
Then the final check, which is the part I actually care about: plug it in and look at it from across the room in the dark. The TAADEEBO sign is bright enough to read by from the other side of the couch, which is more than I can say for two of the cheaper signs I owned before it. The remote changes colors and brightness, and I set it to a dim warm white for game nights so it does not glare at everyone across the pool table.
Set the brightness low the first night and adjust from there. You can always make it brighter, but you cannot un-see a sign that is blinding you from across the room. I also learned to leave it on for a full evening before calling it done, because a sign that flickers or buzzes will usually show up in the first couple of hours. Mine has been on for hours at a time every week since October and it has not flickered once.
What Else Helps
Two small things made the difference for me. First, buy a level if you do not own one. A two foot level costs a few dollars and it is worth it for a sign you will look at every day. Second, keep the original box and the foam it shipped in. If you ever move, or you swap the sign for a different one, you will want the box, and these signs are not built to survive a move loose in a duffel. I kept mine in the basement storage, and I was glad I did when I took the sign down to clean it after the holidays.
A couple of other small things: if the sign goes near a sink or a counter where water is involved, keep the cord and the transformer well away from the wet zone. LED signs are not waterproof just because they are made of plastic. And if you are hanging it for a kid, put it at eye level for them, not for you, so they actually get to enjoy it. I hung a smaller one for my granddaughter Nell at her height in her room, and she notices it every single night.
The sign has not moved in six months of monthly game nights with eight to ten people in the room, and I have stopped checking it.
Ready to skip the trial and error?
The TAADEEBO custom sign comes with its own mounting kit, and at 4.7 stars from over 2,400 reviews it is the one I trust on my wall. Measure first, pick your mounting method, and it goes up in one afternoon.
Amazon Check Today's Price on Amazon →