
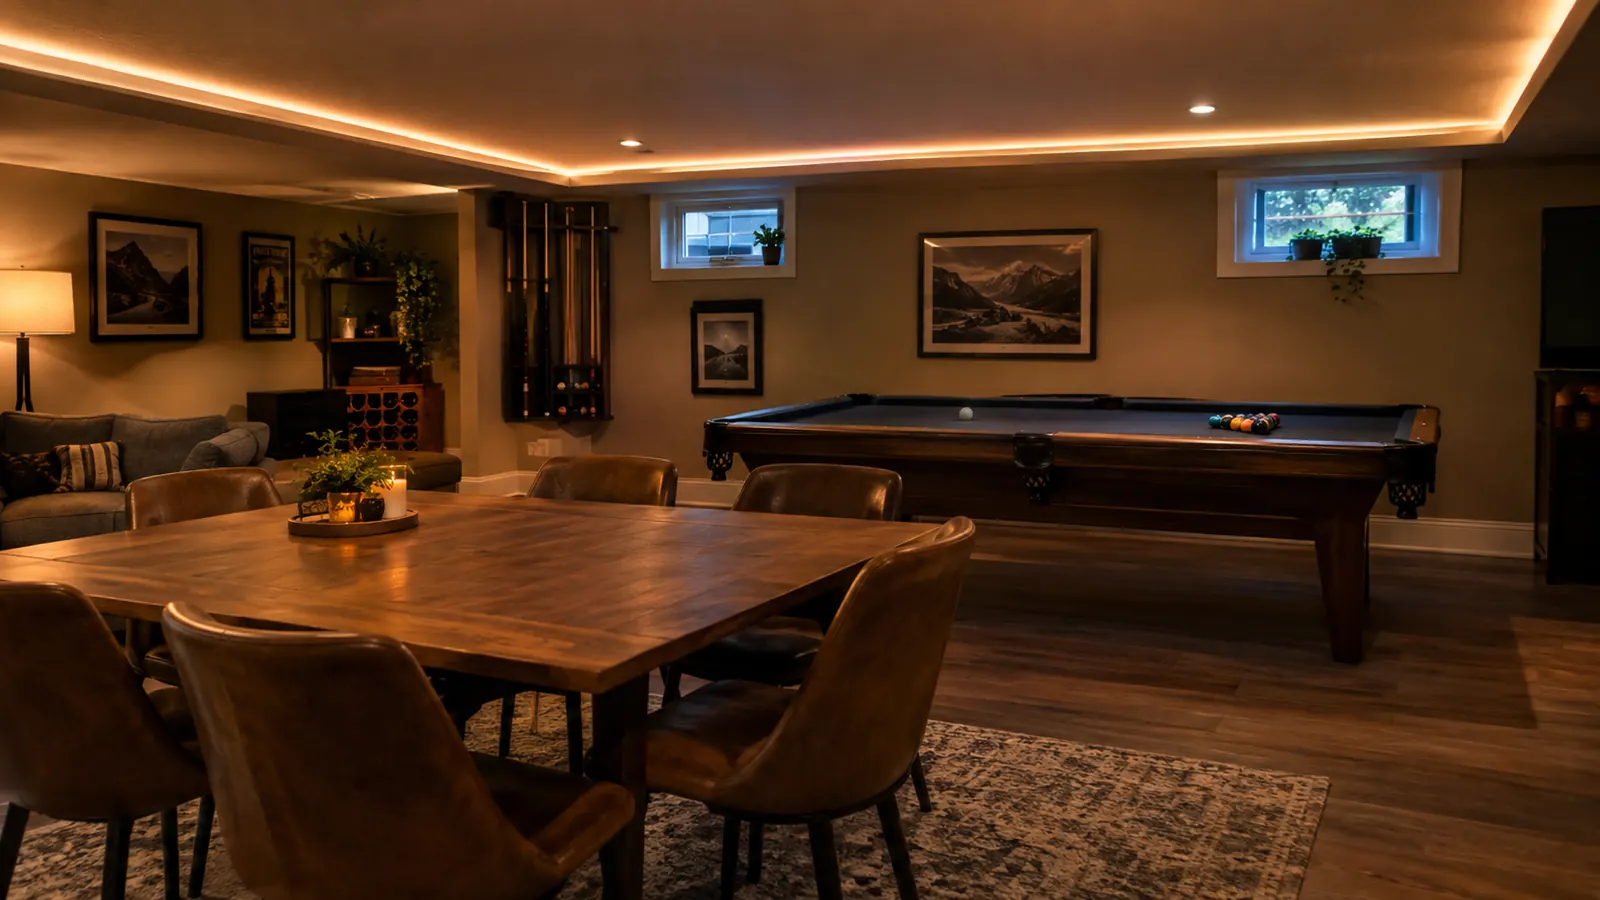
I'll start with the part the box doesn't tell you: the cheap LED strips you're picturing, the ones that peeled off the wall by February, are not the same thing as the set I'm about to walk you through. I know because I bought the cheap ones first. My basement rec room has exactly two small windows, and for years the lighting down there was one overhead fixture that made everyone at game night look like they were being interrogated. Gary and I host eight to ten people around the table on the first Saturday of every month, and I wanted a soft glow along the ceiling, something that said 'stay for another hand' instead of 'the game is over.' The budget set I tried first lost its grip within a month, and the remote died before I'd used it twice. The Govee 16.4ft RGBIC strip is the set that actually stayed up, and the whole install took me about half an hour, most of it spent measuring twice because I didn't trust myself.
This guide follows the order I wish someone had given me. Not the order in the manual, which assumes you've done this before. The order that keeps you from sticking a 16-foot strip to the wall and then realizing the corner is wrong. If you're setting up a room that actually gets used, a basement, a back deck, a craft corner, a grandkid's bedroom, the same steps apply. The only real difference is where you start the run.
The strip that finally stayed up on my basement walls
The Govee 16.4ft RGBIC strip has been mounted along my rec room ceiling for a year now. It holds, it's bright enough to read a scorecard by from across the table, and the app pairing took me about two minutes. This guide walks through exactly how I installed it.
Amazon Check Today's Price on Amazon →What You'll Need
Before you start, gather everything in one place. The box comes with the strip, a power adapter, and the control box that sits between them. Beyond that you need a tape measure, rubbing alcohol, a clean rag, and a step stool if your ceiling line is anything like mine. Cable clips are optional but worth having. Download the Govee Home app on your phone before you start, because you'll want it ready when the strip is up.
Don't skip the alcohol. I know it feels like an extra errand, but the single most common reason strip lights fall is a dusty wall. The strip's adhesive is only as good as the surface under it.
Step 1: Measure the run and plan the corners
Grab a tape measure and walk the room before you peel anything. The strip is 16.4 feet, which sounds like a lot until you're standing in a basement and realizing you want light on two walls. Decide on one wall, or one wall and part of another, and measure that exact distance. You don't need to light the whole perimeter. Most rooms look better with one clean run than with a strip that stops awkwardly three feet before the outlet.
Corners are the constraint, not the length. The strip is flexible, but it won't make a sharp 90-degree turn without kinking. You have three options: run it along a straight wall and stop before the corner, cut it at the marked lines and use a connector to turn the corner, or let it curve gently if the corner has a rounded edge. For my basement I ran one straight wall and stopped before the corner. It looked intentional, and it saved me the connector math.
Decide where the control box sits before you mount anything. The strip plugs into a small control box, and the box needs to reach both the strip and a power outlet. Start your run near an outlet and the cord hides easily. Start it on the far side of the room and you're stringing a power cord across the floor, which is how people trip during game night.
Step 2: Clean the surface and dry-fit the strip
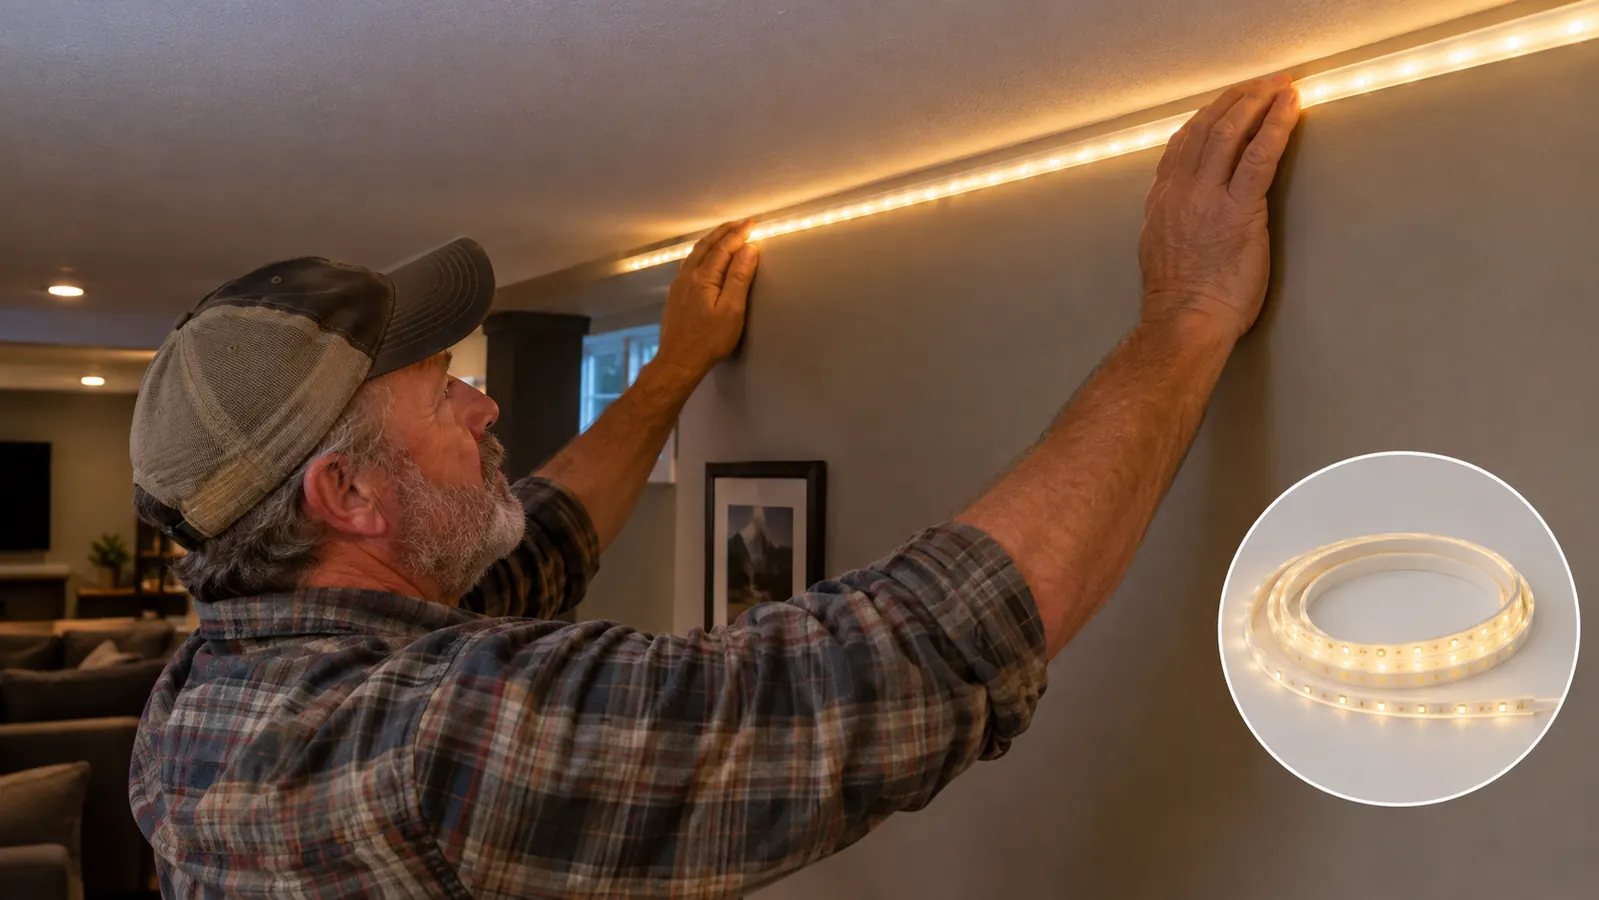
The adhesive on this strip is genuinely better than the cheap set I started with. But adhesive only works on a clean surface. Wipe the entire run with rubbing alcohol on a rag, not just the spots you can see. Basement walls collect a film of dust and humidity you can't see until something fails to stick. Let it dry completely. This takes about five minutes, and it's the difference between a strip that stays up for a year and one that sags by spring.
While it dries, dry-fit the strip. Peel nothing yet. Hold the strip along the wall with one hand and walk the run, checking that the corners work and the control box will sit where you planned. This is the step that saves you from the worst moment in any strip light install: pressing the backing down for ten feet and then realizing the strip is twisted, or the power cord is on the wrong end.
One thing I learned the hard way: the strip is flexible but not stretchy. Don't pull it tight to make it reach. If it's six inches short of where you wanted to end, end it six inches earlier and plan a better start point. A relaxed strip lies flat. A stretched strip pulls its own adhesive off the wall over a few weeks.
Step 3: Stick it, working in short sections
Peel the backing off in sections about a foot long, not the whole length at once. Press the strip firmly as you go, running your thumb along the full width, not just the edges. The sections that fail on cheap strips are always the ends and the middle of long spans, so give those extra pressure and hold for a few seconds.
If you're mounting under a shelf or cabinet edge, the adhesive grabs better on bare wood than on painted drywall. If you're mounting on painted drywall, like I did along the basement ceiling line, press hard and hold. The strip is forgiving for the first minute: if a section is crooked, peel it back gently and re-press it. After about a minute, the bond sets and you're committed.
Work around the control box last. Mount the strip, then position the box where it's reachable but out of the way. Mine sits on a shelf near the outlet, which means I can reach it without a ladder but nobody bumps into it during game night.
Step 4: Plug it in and pair the app
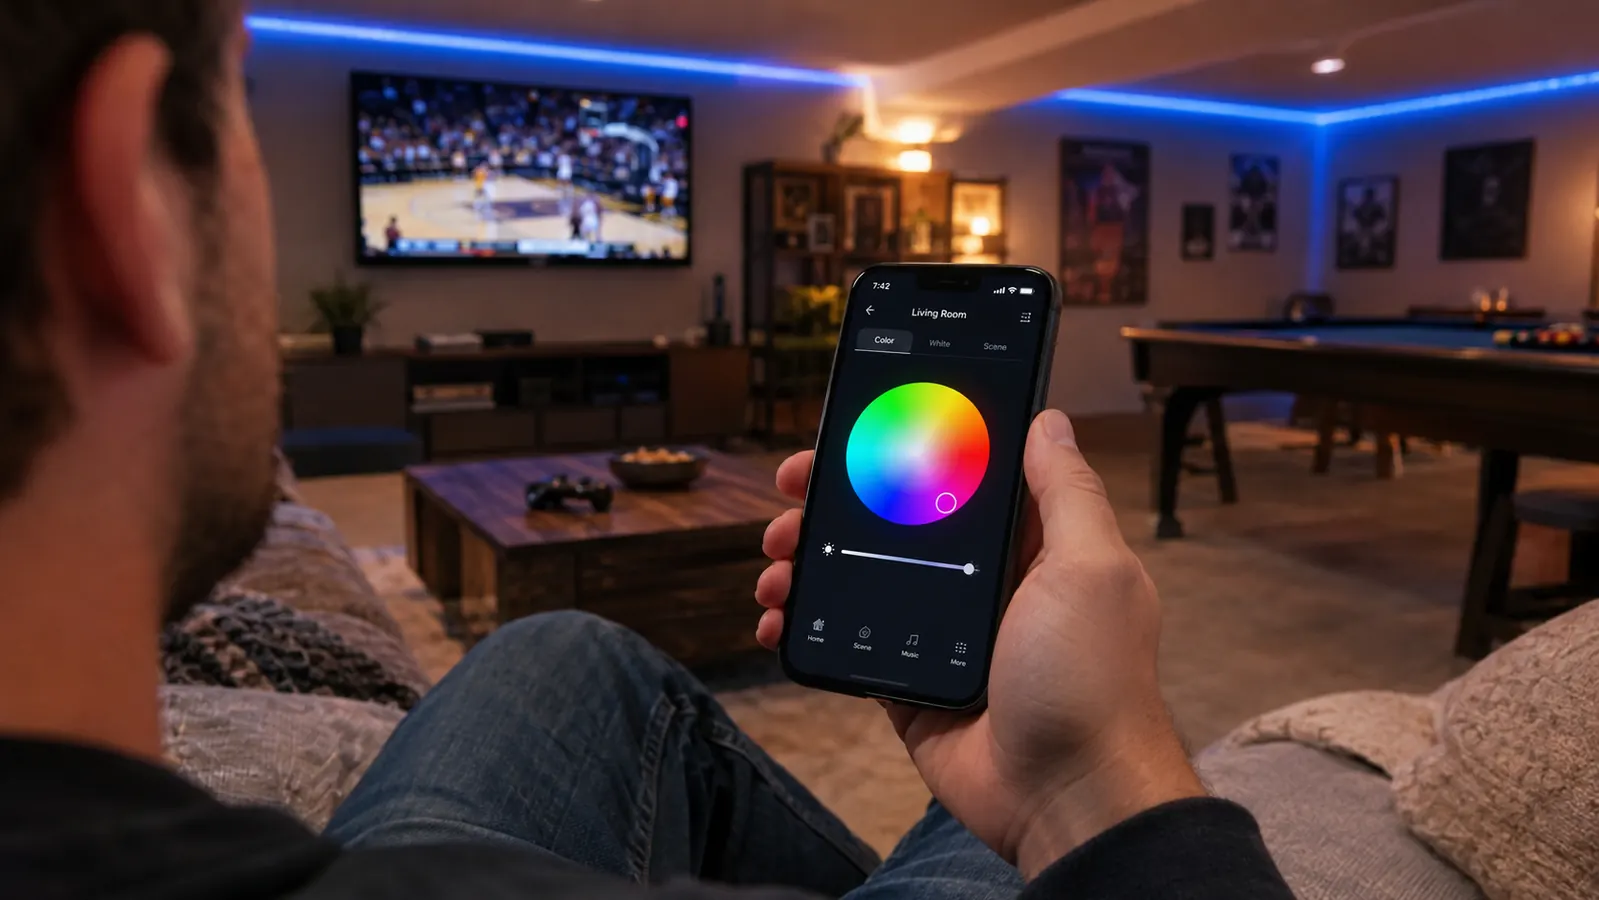
This is the step people overthink, and I did too until I actually did it. Download the Govee Home app, turn on your phone's Bluetooth, plug the strip in, and open the app. It found my strip within a minute. The app walks you through the rest. If it doesn't find the strip, move closer to the control box, make sure Bluetooth is on, and try again. That's the whole troubleshooting guide, and it covers most cases.
Once the app finds the strip, connect it to your home Wi-Fi. This matters more than it seems. With Wi-Fi, you can turn the lights on from the kitchen when you're heading down to the basement, and you can set them to come on before guests arrive. Without it, the strip only answers to Bluetooth, which means you have to be in the room. If you have a voice assistant, the app connects to it easily, so you can change the lights without getting up from the table.
The app itself is plain and it works. I'm not someone who enjoys learning new apps, and I had this one figured out in an evening. You'll want to know three things: how to turn the strip on and off, how to change the color, and how to save a scene. Everything else is optional.
Step 5: Set up a game night scene and test it from the couch
Now the part where you actually figure out if the light works for the room. The RGBIC in the name means different sections of the strip can show different colors at the same time, so one corner can be a soft blue while the rest runs warm white. For game night I set a warm white at about half brightness along the ceiling. It's bright enough to read a scorecard from across the table and dim enough that nobody feels like they're under a work light. The app has preset scenes too, but the custom ones are worth the extra tap.
Test it from where you actually sit, not from where you installed it. I made the mistake of setting the brightness while standing under the strip, then sitting down and realizing it was too dim for cards. Walk to the couch, sit down, look at the room, adjust. Save the scene in the app with a name you'll remember, like 'game night,' so you can switch to it with one tap when the doorbell rings.
The music sync mode is fun, but it's a party trick, not a lighting plan. It pulses the colors to whatever sound the phone hears, and it's great for the block's trick-or-treat walk in October, when I do the lights for the whole street. For a monthly game night, steady beats pulsing. My granddaughter Nell thinks the pulsing mode is the best thing in the house, and she's nine, so at nine that's the correct opinion.
What Else Helps
Three things made my install easier than it should have been. A step stool, because the ceiling line is just out of arm's reach and stretching makes you rush the pressing. Rubbing alcohol and a clean rag, which I already mentioned, and I'll say it again because it's the difference between a strip that stays and a strip that sags. And a small pack of cable clips to route the power cord along the baseboard instead of across the floor.
If the room has textured walls or a popcorn ceiling, mount the strip to a smooth surface instead, a shelf edge or a piece of trim, because the adhesive won't grip texture. And if you're setting this up for a kid's room, set up the scene controls with them before you hand over the phone. Otherwise you will be re-pairing the app at nine on a school night.
One more thing: if this is a gift, and a lot of these are, set it up before you wrap it. I've helped more than one friend who opened a strip light box and found the instructions baffling. Mounted and paired, it's a five-minute explanation. In the box, it's a project.
The whole install took me about half an hour, and a year later every section is still exactly where I pressed it.
The set that's still on my basement wall a year later
The Govee 16.4ft RGBIC strip has been up in my rec room for a year. It holds, the app is simple, and the light is bright enough for cards and soft enough for conversation. If your room has the same problem mine did, this is the fix.
Amazon Check Today's Price on Amazon →