
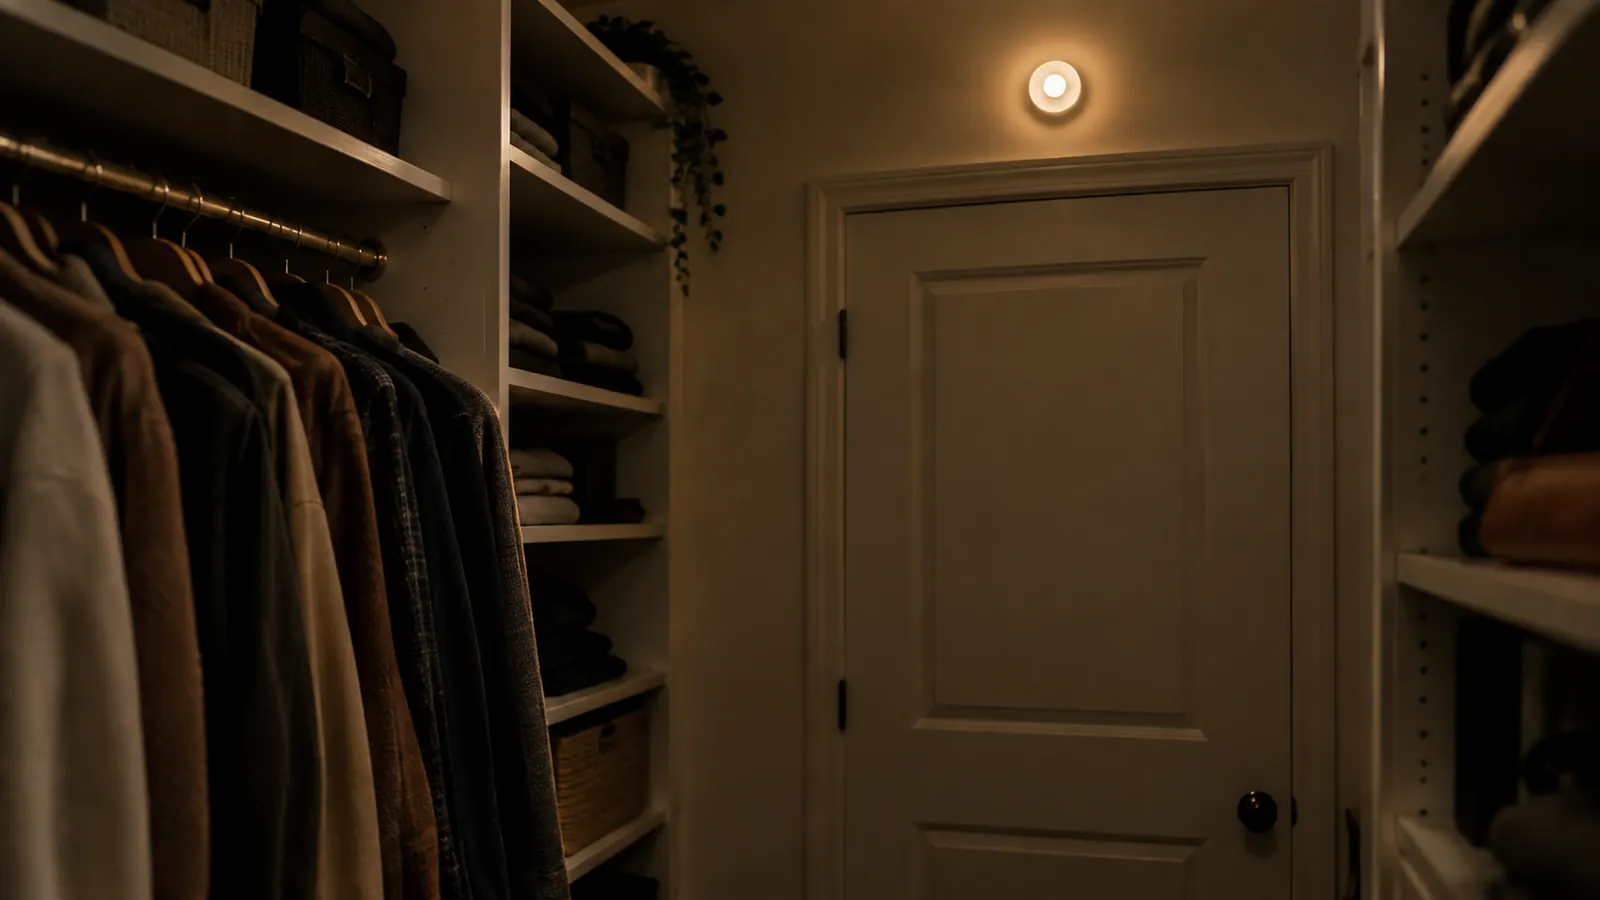
I have a coat closet just off the basement stairs that has never had a light. For years I kept a flashlight on the shelf, and every time I reached for a coat I was doing it by feel. I tried one of those stick-on tap lights first. It worked for about a month, then the adhesive gave up and the battery died at exactly the wrong moment. When I finally switched to the STAR-SPANGLED motion sensor puck lights, the install took me less than ten minutes, and I did not need a single tool.
The whole job is peel, stick, and set the switch. No drilling, no wiring, no stud finder. The lights run on AAA batteries, which means you can put them anywhere you can reach, and you can move them later without patching holes. In this guide I will walk through the exact placement that worked in my closet, what I learned about triggering range, and the one mistake that made the first unit useless for the first week.
The 3-pack that finally lit my dark closet
The STAR-SPANGLED motion sensor puck lights run on AAA batteries, stick with adhesive, and turn on when you walk in. No wiring, no tools, no light switch. I bought the 3-pack so I could put one above the door, one on the shelf, and one in the back corner.
Amazon Check Today's Price on Amazon →Step 1: Decide where the light needs to see you
The sensor on these pucks is on the front face, and it sees a wide cone in front of it. That means the most important decision is not how bright the light is, it is where you put it. If you stick it flat on the back wall of a deep closet, it will not see you until you are already standing in front of it, and by then you have already found the coat you were reaching for. I learned this the hard way.
For my closet, the spot that worked was the wall above the door, about 6 feet 8 inches off the floor. That put the sensor about a foot above my head and gave it an unobstructed view of the whole space. From that angle it triggers when I step through the door, not when I am already halfway in. If your closet is shallow, the same spot works. If it is a walk-in, put one on the wall facing the entrance and a second one deeper in.
I measured the distance from the floor with a tape measure, but you do not need to be precise. The rule is simple: the sensor wants to see you enter, not see you already inside. Hold the light in your hand, walk into the closet the way you normally do, and find the spot where the light would catch you at the door. Mark it with a piece of painter's tape, then move on to the next step.
My closet is about 4 feet wide and 2 feet deep, with a single shelf at 5 feet. The wall above the door is the only spot that gives the sensor a clear line to the entrance. I tried the side wall first, at about 4 feet off the floor, and the light kept triggering when I walked past the door in the hallway. Moving it up to 6 feet 8 inches fixed that. The height matters more than I expected, because the sensor cone tilts downward slightly, so a higher mount sees a wider area.
Step 2: Clean the surface and let it dry
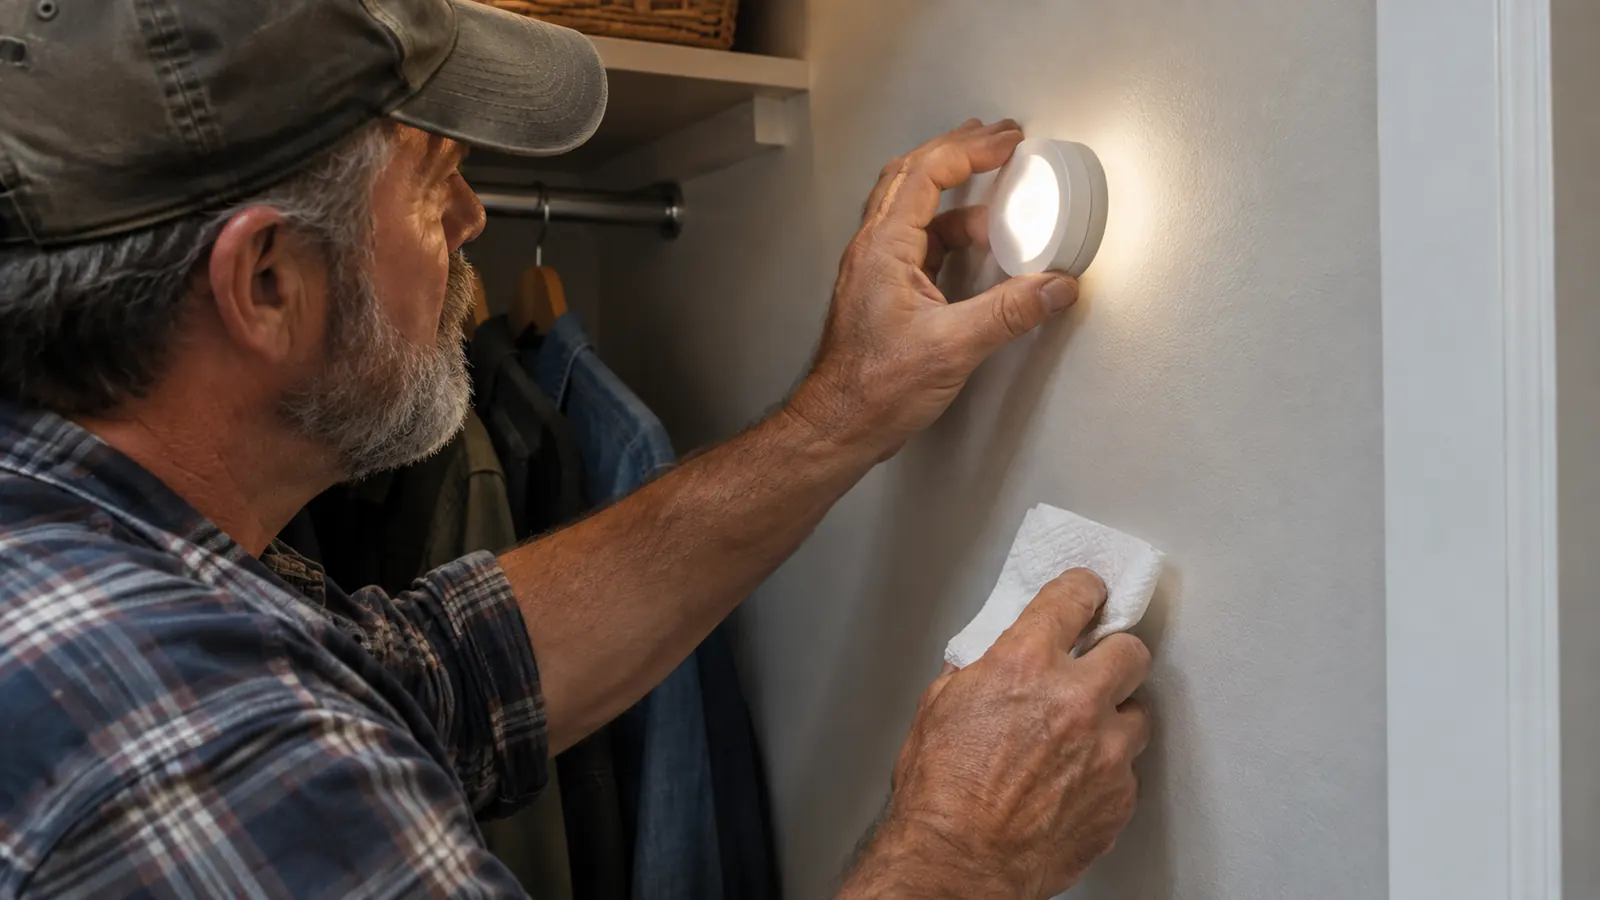
The adhesive on the back of these pucks is strong, but it only bonds to a clean surface. My closet walls are painted drywall that has been there since 1972, and they had a fine layer of dust and fabric softener residue from years of coats brushing against them. If I had stuck the light straight onto that, it would have fallen off within a week.
I wiped the spot with a paper towel and rubbing alcohol, then waited a full minute for it to dry. That minute matters. The alcohol needs to evaporate completely, otherwise the adhesive is bonding to a wet film. I also wiped the back of the light itself, because the factory can leave a little oil from the molding process. It sounds fussy, but it is the difference between a light that stays up for two years and one that lands on your shoes.
If you are sticking these to a shelf or a door, the same rule applies. I used one on the shelf above my craft table and wiped that spot too. For a painted door, do not use a harsh cleaner that strips the paint. Rubbing alcohol is safe on most finishes, but test it on a corner first if you are unsure.
Step 3: Load the batteries and set the switch before you stick
The STAR-SPANGLED puck takes three AAA batteries, and the battery door is on the back. That means once the light is stuck to the wall, you do not want to be prying it off to change a battery or flip a switch. I loaded all three pucks, set the switches to auto, and only then peeled the adhesive backing.
There is a small switch on the side of each puck with three positions: off, on, and auto. The on position keeps the light on all the time, which is useful for a shelf or a craft area where you want steady light. The auto position is what you want for a closet. I tested each light on the kitchen counter before I carried them downstairs, because it is much easier to troubleshoot a light that is not working while it is sitting in front of you.
One thing to know about the auto setting: the light stays on for about 30 seconds after the last motion it sees. That is long enough to grab a coat and shut the door, but not long enough to dig through a box on the floor. If you need longer, you can either set the switch to on, or add a second puck so the coverage overlaps. I ended up with two pucks in the closet for exactly that reason.
I also learned to check the battery orientation before I stuck anything. The STAR-SPANGLED puck has a diagram inside the battery door, but the diagram is small and the spring contacts are easy to miss. I put one battery in backward the first time and the light did nothing. It took me a minute to figure out, and that minute is a lot easier to spend on a counter than on a ladder. If your light does not come on after you stick it, the first thing to check is the batteries.
Step 4: Peel, press, and hold
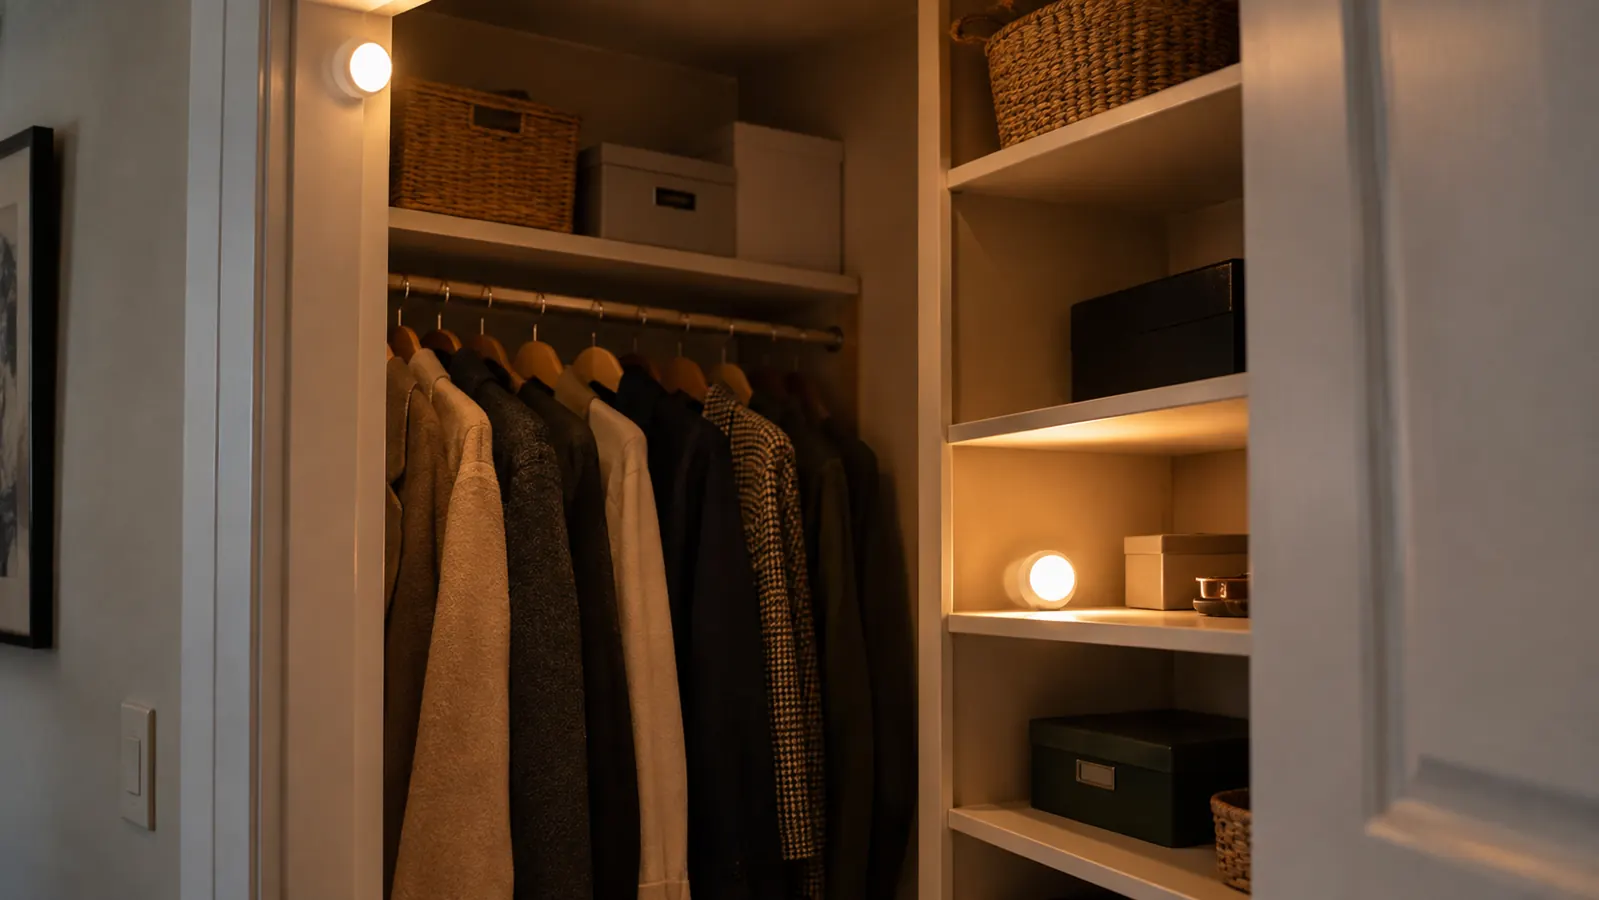
Once the surface is clean and the switch is set, the actual install is embarrassingly easy. Peel the backing off the adhesive strip, position the puck where you marked, and press it firmly against the wall. Hold it there for a full 30 seconds. The adhesive needs pressure to grab, and if you let go after two seconds, it will not seat properly.
I pressed with the heel of my hand, not my fingertips, because that spreads the pressure evenly across the back of the puck. I also gave it a little twist while pressing, the same way you would a suction cup, to work out any air. It stayed put immediately. I have had one of these on the basement wall for four months now, and it has not moved even though the basement gets humid in the summer.
If you are sticking the puck to a shelf, press it down from the top and hold it. If you are sticking it to the underside of a cabinet, which is another good spot, press up and hold. The adhesive is the same, it just needs a few seconds of firm pressure in whatever direction you are mounting it.
Step 5: Test the trigger zones and adjust the angle
The sensor on the STAR-SPANGLED puck is not adjustable, so the angle of the whole light is what you control. After I stuck mine above the door, I walked in and out of the closet a few times to see where it triggered. The first test was a failure: the light came on when I was about three feet from the door, which meant it was also coming on every time Gary walked past the basement stairs.
I rotated the puck slightly, about 15 degrees, so the sensor faced more into the closet and less toward the hallway. That fixed it. Now it only triggers when I am actually stepping through the door. The sensor range is listed at around 10 feet, but in practice it is more like 6 to 8 feet in a narrow closet, because the walls block part of the cone. Plan for that.
The other thing I tested was the shadow problem. If you stick a puck on the back wall of a deep closet, the coats hanging in front of it block the sensor. That is why I put my second puck on the shelf, facing outward, so it catches me when I reach past the hanging coats. The two together give me even coverage, and I have not reached for a coat in the dark since.
To test the coverage properly, I hung a heavy coat on the hook closest to the door and stood back. The sensor still saw me, because the puck was above the coat, not behind it. That is the advantage of mounting high. A puck on the shelf, by contrast, can be blocked by a stack of sweaters. I keep the shelf in front of that puck clear, which is a small price for a light that works every time.
What Else Helps
The 3-pack gives you one spare, and I would not leave that spare in the drawer. I put my third puck in the craft room, on the shelf above my die-cutting machine, and it has been the most used light in the house. The motion sensor means I never have to touch a switch with inky fingers, and it turns itself off when I walk away.
For the closet specifically, two small things made a big difference. First, I replaced the top shelf with a wire shelf, which lets light pass through to the floor below. Second, I kept a set of spare AAA batteries in the closet door pocket, because the lights go through batteries faster than you expect. The STAR-SPANGLED pucks are not the most battery-efficient I have tried, but they are also not the worst. I get about two months of normal use out of a set.
If you have a closet with no wall above the door, you can stick the puck to the door itself, near the top, angled toward the hinges. That works well for a reach-in closet. For a closet with a light already in the ceiling, these pucks are still useful for the back corners where the overhead light never reaches. I use one in the back of my pantry for the same reason.
One more thing: these pucks are not meant to light a whole room. They are task lights. In the closet, they make it easy to find a coat, but they do not replace a ceiling fixture. I mention that because I have bought lights expecting them to do more than they can, and I would rather you know before you order. For a closet, a pantry, a dark corner, or a shelf, they are perfect. For a room, you want something bigger.
I rotated the puck about 15 degrees and it stopped turning on every time Gary walked past the basement stairs.
The 3-pack that fixed my dark closet for good
The STAR-SPANGLED motion sensor puck lights are the ones I stuck up in March and have not touched since. No wiring, no tools, no light switch. If you have a closet, a pantry, or a dark corner that needs light, this is the easiest fix I have found.
Amazon Check Today's Price on Amazon →