
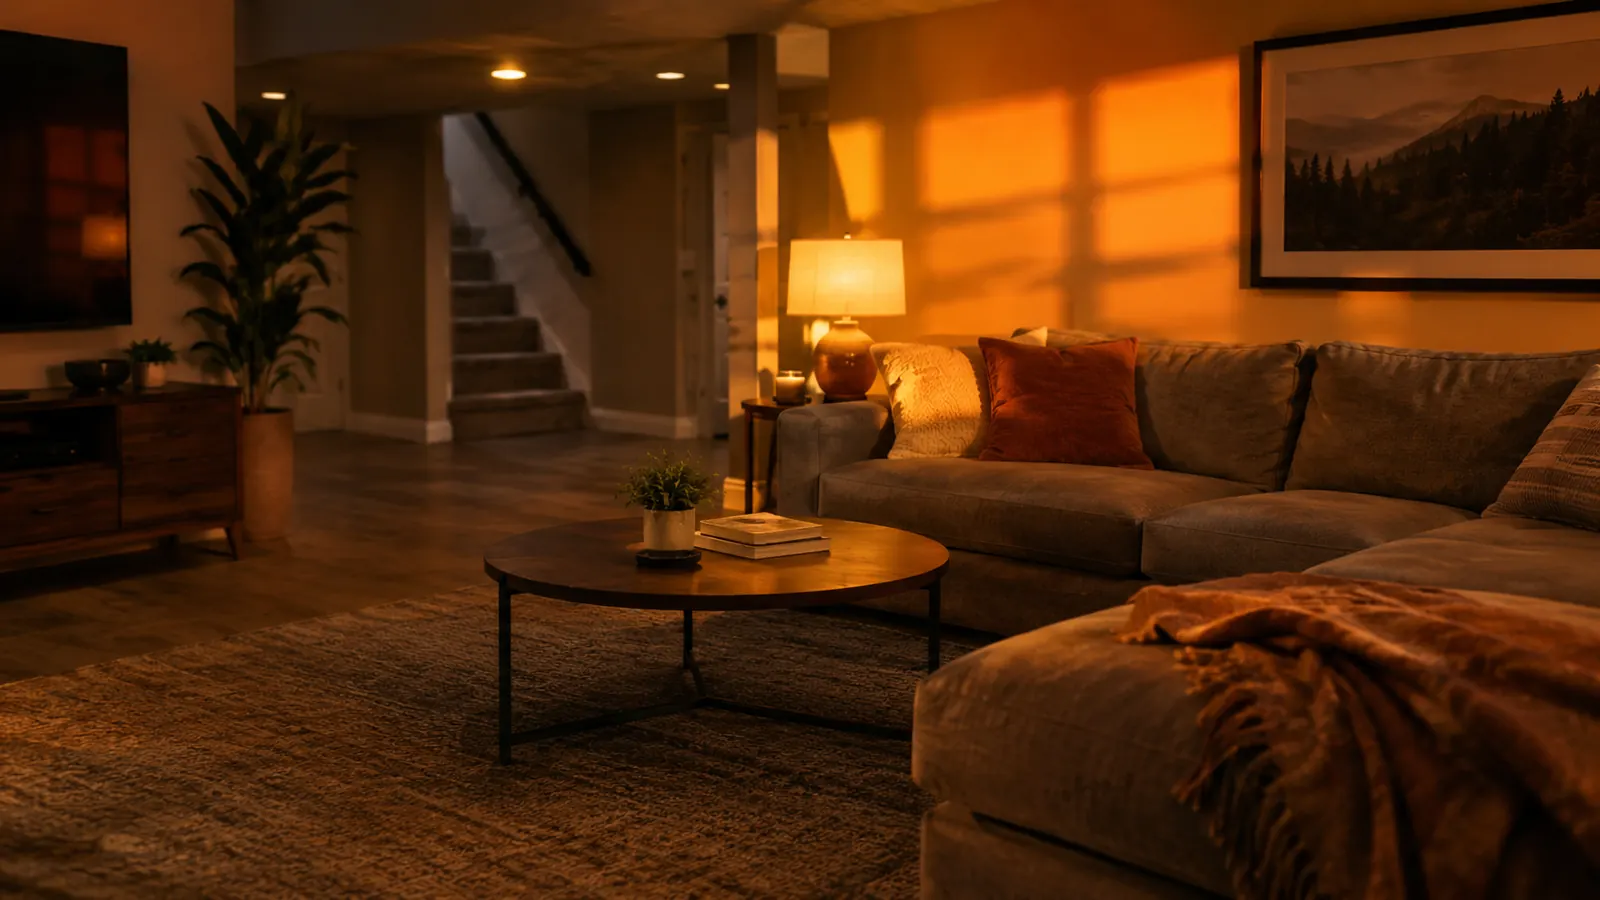
My first sunset lamp was a cheap knockoff from a big box store. I plugged it in, aimed it at the wall, and got a weak orange blob that looked like a flashlight behind a napkin. I almost gave up on the whole idea. Then I bought the Balkwan sunset lamp, and it changed how I think about these things, but only after I learned to use it properly. Most people don't need a better lamp; they need to know where to put it. I've had mine for eight months now, and it's become the most-used light in my house, but the first two weeks were full of failures. I tried it on the floor, pointed it at people, and even used it as a reading light, and every time it looked wrong. So if you're struggling with yours, this is the guide I wish I'd had.
I'm Marlene Ostrander. I live in a 1972 split-level in Cedar Rapids, and my basement rec room has exactly two small windows. Every usable light down there is one I added myself. I've been messing with lights for years because of that room, and the sunset lamp is the one that gets the most compliments during game night. But it took me a few weeks of trial and error to get it right. I host a game night for eight to ten people on the first Saturday of every month, and the first time I used the lamp, someone asked if I'd bought a new fireplace. That's when I knew it could work, but I had to figure out the details.
Get the Balkwan Sunset Lamp on Amazon
If you're starting from scratch, this is the one I recommend. It's bright enough to read by from across the couch, and the remote works from the other end of the room.
Amazon Check Today's Price on Amazon →Step 1: Put It at Head Height, Not on the Floor
The biggest mistake I see in photos is the lamp sitting on the floor. When it's that low, the light comes from underneath and makes everyone look like they're telling ghost stories. I started with mine on the floor because the stand is short, and the results were bad. The light hit the ceiling and the tops of people's heads, and the shadows went up instead of down. I took a photo of Gary sitting in his recliner, and he had dark bags under his eyes that he doesn't actually have. That was the moment I knew I had to change something. The floor position also made the lamp look like a cheap nightlight, not the warm glow I was after.
So I moved it up. The Balkwan sunset lamp has a stand that goes to about 48 inches, which is roughly table height. I set it on a side table in my rec room, and that put the bulb at about chest level for people sitting on the couch. That simple change made the biggest difference. In photos, the light now wraps around faces instead of under them. I tested it on the first Saturday of the month during game night, and the pictures from that night looked like they were taken in a professional studio, not a basement. Even Gary noticed, and he never notices lighting. The difference was so obvious that I wondered why I hadn't done it from the start.
If you don't have a table that height, a stack of books works. I used a stack of old hardcovers for a week until I found a proper plant stand. The key is to get the light source above the subject's eyes, not below. When I shot a video of Nell playing with her toys, the light from that height gave her face a nice warm tone without the scary flashlight look. Even a small step stool can work, as long as the lamp is above the eye line. It's the single most important thing I did. I measured the height once: the top of the bulb was 44 inches off the ground, which is about eye level for a seated adult. That's the sweet spot.
Step 2: Angle It Toward the Wall, Not the Subject
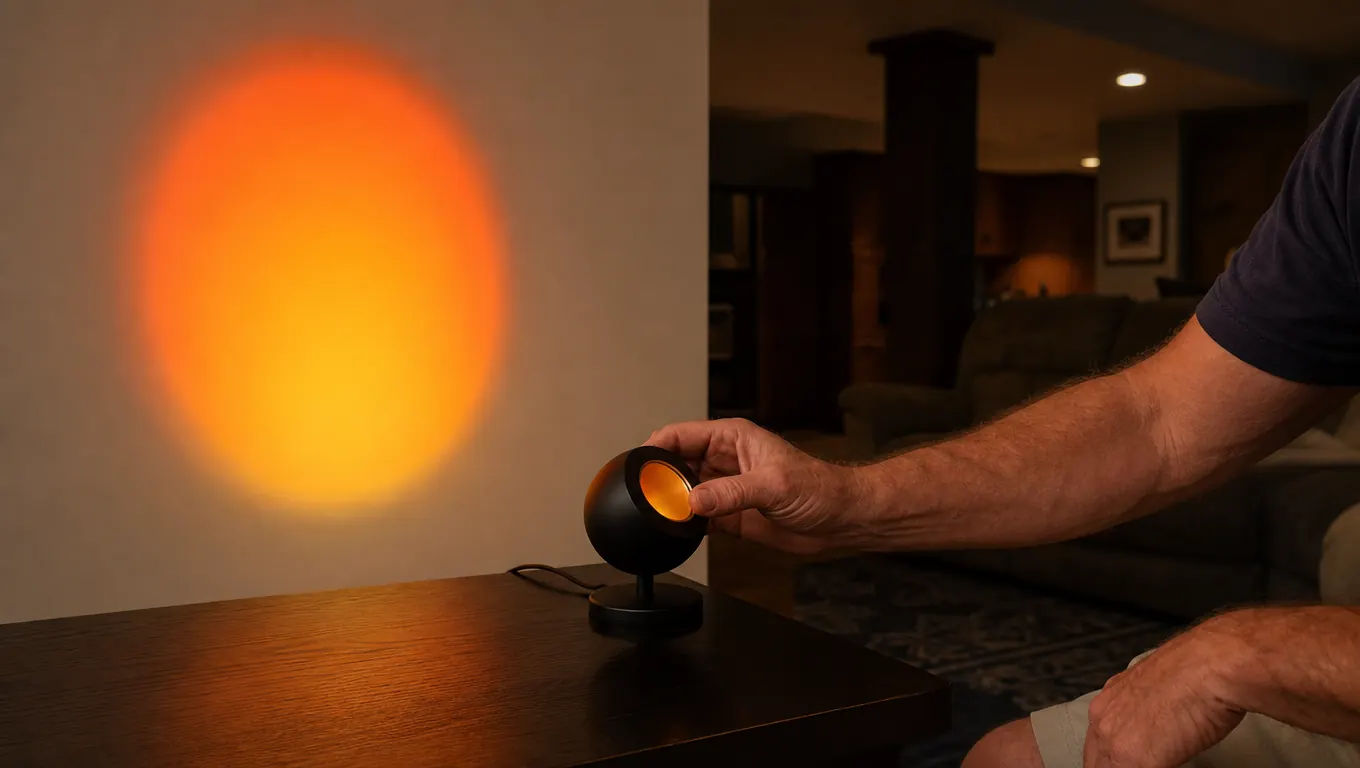
The second thing I learned is that the sunset lamp is a wash light, not a spotlight. You don't point it directly at someone's face like a flashlight. You point it at a wall or a ceiling behind them, and let the bounce do the work. I had a photo session with Gary where I pointed the lamp straight at him, and he looked like he was being interrogated. The light was harsh and flat, and his skin had an unnatural orange glow. That photo session made me rethink everything. I deleted most of those photos because they were unusable. The direct approach also created a bright hotspot that made the background disappear into black.
So I turned the lamp about 45 degrees to the side and aimed it at the white wall behind the couch. The warm glow filled the room, and the shadows softened. That's when I realized the lamp is more like a large softbox than a bare bulb. The bounce from the wall spreads the light and makes it even. I tested this with a few test shots, and the difference was night and day. The subject's face had a gentle highlight on one side and a soft shadow on the other, which looks much more natural. I also noticed that the room itself looked cozier, like the lamp was part of the decor.
For video, this matters even more. A direct lamp creates a hotspot that the camera sensor struggles with, especially on phone cameras. When I record my die-cutting tutorials, I angle the Balkwan lamp at the wall to the left of my workbench. The result is a smooth, even wash that doesn't blow out the highlights. I noticed that with the lamp aimed at the wall, the video clips have more detail in the shadows, and the colors don't clip as easily. I also started using the lamp as a fill for my video calls, and the improvement was immediate. The other person on the call commented that the lighting looked like a professional setup.
Step 3: Diffuse It to Kill the Harsh Edge
Even at the right angle, the bulb itself is a point source, and it can cast a hard shadow. The first time I used the lamp for a video, I noticed a sharp line where the light stopped. I tried moving it farther away, but that just made everything dimmer. Then I put a thin white scarf over the bulb. That diffused the light and the hard edge disappeared. The scarf was an old one I had in a drawer, and it worked perfectly. I've since used a piece of parchment paper and a white napkin, and they all work. The key is to make sure the material is thin enough to let light through but thick enough to soften it.
You can also use a piece of parchment paper or a white napkin if you don't have a scarf. Just make sure it's not touching the bulb directly, because the lamp can get warm after a while. I found that a cloth held about an inch away works best. The difference in the footage was immediate. The light wrapped around the subject instead of cutting off abruptly. I tested this on a Friday afternoon, and I could see the change in the very first clip. The edges of the light became soft, and the transition from lit to unlit was gradual, which is what you want for a natural look.
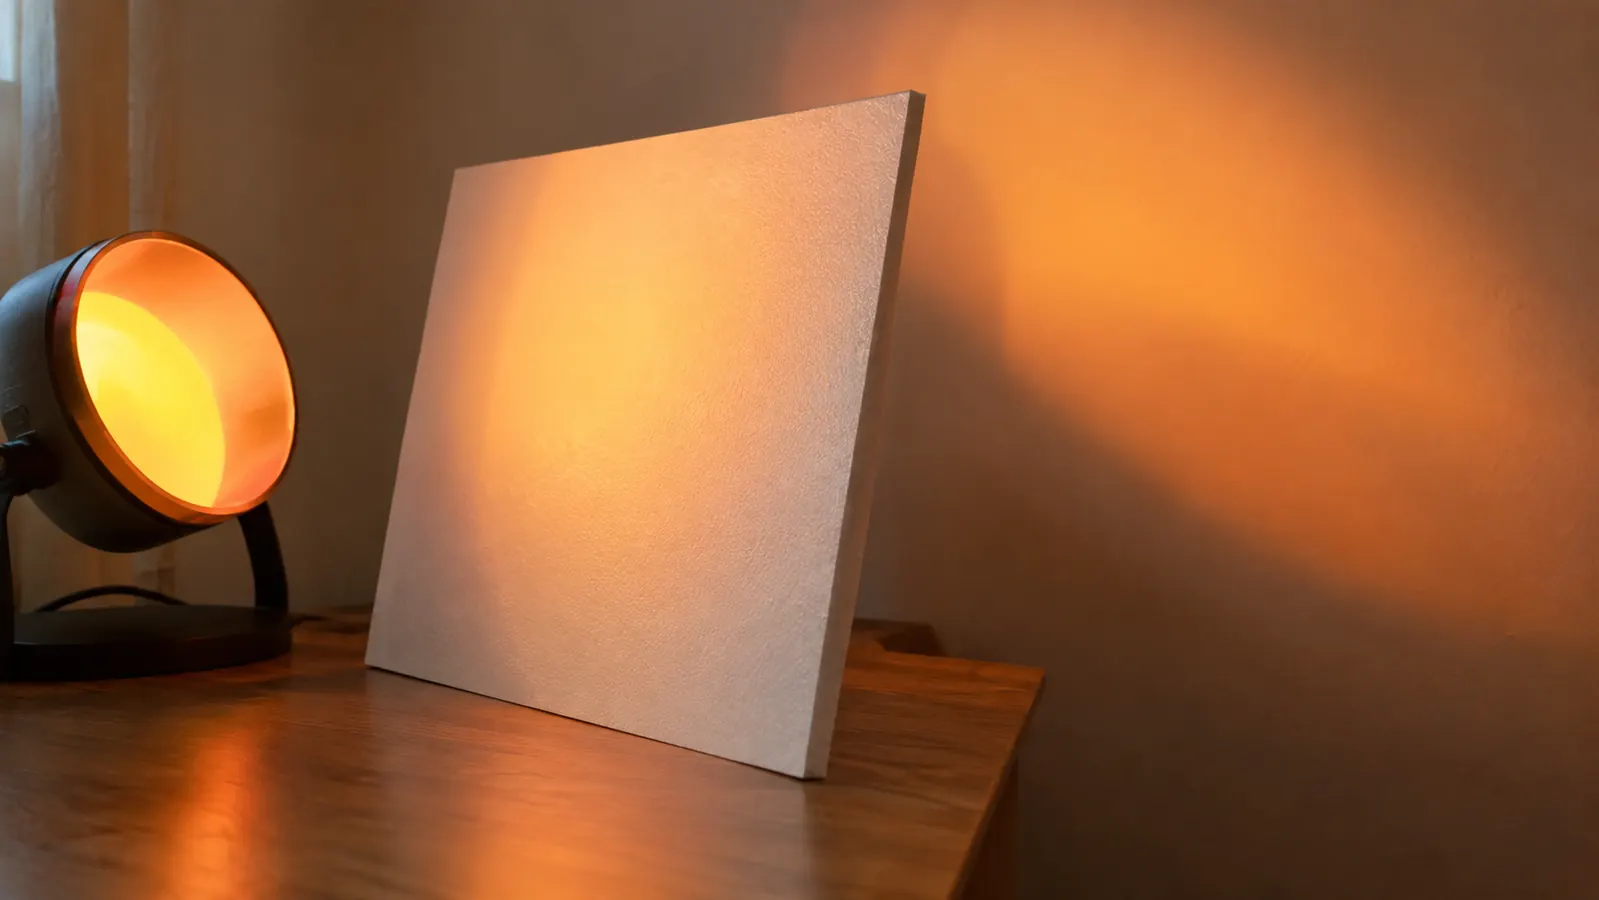
If you want a more professional look, a cheap photography diffusion panel works too, but I've found the scarf trick is just as good for my purposes. The key is to soften the edge of the beam so the transition from light to shadow is gradual. That's what makes the difference between a home video and something that looks intentional. I've also used a white foam board to bounce light back into the shadows, but that's a separate trick I'll mention later. For now, just remember that diffusion is your friend. It costs nothing and makes the biggest difference in image quality.
Step 4: Balance It With Your Existing Room Lights
The sunset lamp is not meant to be the only light in the room. When I first used it alone at night, the colors were strong, but everything had a deep orange cast, and the faces were too warm. I learned to keep a regular lamp on at low power across the room. That gives you a neutral fill that keeps the sunset effect from overwhelming the shot. I have a small table lamp on the other side of the rec room that I set to its lowest setting, and it makes a huge difference. I also tried using a second sunset lamp, but that made the room too monochrome.
My rec room has a ceiling light with a dimmer. I set it to about 20 percent during game night. That tiny bit of white light keeps the room from looking like a cave, while the sunset lamp provides the warm accent. In photos, the combination looks natural, not like you're standing next to a campfire. I had a game night in February where I forgot to turn on the fill light, and the photos came out with a heavy orange tint that I couldn't fully fix in editing. After that, I made a habit of checking the fill light before I start shooting.
The same idea applies for video. When I record my craft tutorials, I keep the overhead light at a low setting and the Balkwan lamp angled at the wall. That gives me a base exposure and then the warm color on top. Without the fill light, the footage was too orange and the whites looked pink. I had to re-record a whole segment of a tutorial because of that, so now I always check the fill light before I hit record. It's a small step that saves me from wasting an hour of filming.
Step 5: Set Your White Balance and Shoot in RAW
The last step is about the camera, not the lamp. A sunset lamp is very warm, around 2500K, and if your camera is set to auto white balance, it will try to correct that warmth and turn everything gray. The first video I shot looked washed out because the camera kept fighting the orange glow. I switched to a manual white balance of about 3200K, and the colors came back. That was the moment I realized the lamp wasn't the problem; my camera settings were. I also learned that shooting in RAW gives me the most control, but even a phone camera can be fixed with a little tweaking.
If you're shooting on a phone, use the pro mode or at least lock the exposure before you start. I tap and hold on the screen to lock focus and exposure, then adjust the little sun slider to get the right brightness. That keeps the phone from constantly changing exposure as you move the lamp or the subject. I learned this the hard way when I filmed a video of Nell blowing out candles on a cake, and the exposure kept shifting because she moved. After that, I always lock the exposure first. It's a small step that saves a lot of headaches.
Shooting in RAW on a DSLR or mirrorless gives you the most flexibility. I can fix the white balance in editing without losing quality. But even on a phone, you can use a free editing app to warm up or cool down the image afterward. The point is to not rely on the camera's auto settings, because they'll fight the whole effect. I've had the best results when I set the white balance manually and then do a small adjustment in post. For my own videos, I now shoot in RAW on my camera and then bring the warmth down a touch in editing, which gives me the exact look I want.
What Else Helps
What else helps? A few small extras make the sunset lamp even easier to use. A white reflector, even a piece of foam board, can bounce light back into shadows. I keep a 20-by-30-inch piece of white foam board in my craft room, and I prop it up on the opposite side of the lamp. It fills in the shadows on the subject's face without adding a second light source. A tripod for your phone or camera keeps the framing steady, which is essential for video. And if you're using the lamp for video, a remote shutter release means you don't have to touch the camera and shake it. I also recommend a small step stool or a stack of books to adjust the height, which I mentioned earlier. The foam board is the one I use most, but the others are all worth having.
The lamp is not the problem. Where you put it is. Once I moved mine up to chest height and pointed it at the wall, every photo and video I shot looked better.
Get the Balkwan Sunset Lamp on Amazon
I've had mine for eight months and it still works perfectly. It's bright enough to light a whole room, and the remote hasn't broken yet. If you're ready to try one, this is the one I'd buy.
Amazon Check Today's Price on Amazon →